Bringing a newborn home is exciting and hectic, and one of the most important tasks is getting them to sleep. This guide will make it easier for you to build your crib without any confusion. At the end of this guide, you should have a sturdy and safe crib your baby will rest peacefully in throughout those nights.
Different Types of Baby Cribs explained
Knowing what type of baby crib you will be assembling before you even start is important. The differences are in the kind of cribs sold and the ways to be assembled. Types of cribs you might encounter
1. Standard Baby Cribs
These cribs are timeless and provide a secure, comfortable sleeping area. A standard crib has one fixed side and a mattress support system.
2. Convertible Cribs
Convertible: An option to hang around with your baby for a while. They can most likely convert from a crib to a toddler bed and sometimes a daybed or full-sized bed.
3. Portable or Mini Cribs
Another important aspect for parents to know is that portable cribs are much smaller and lighter, thus making it easier for them to get around the house. They are perfect if you live in a cramped or need to keep them out of the way.
Identify Your CribKnowing your crib type will help with safe assembly.
Tips You Should Know Before Putting a Crib Together
Putting together a crib can be more than intimidating, but it is entirely doable with the proper tools and knowledge.
1. Check Safety Regulations
Make sure that the crib satisfies contemporary safety specifications. Since the beginning of cribs, safety standards have been adjusted back and forth. To keep your kid as secure as possible, make sure your crib complies with current requirements.
2. Gather Your Tools and Parts
Gather Required Tools Naturally, kitting together a crib will take some essential tools (hello, Phillips-head screwdriver and hex key — usually included!), maybe even one that looks like the miniature wrench you use for assembling those pieces of Billy bookshelves. Before you start, retrieve all the crib components and hardware to ensure nothing is left wanting.
3. Select a large assembly area
This is important because after the crib has been taken apart, it will not be as stable anymore, which can often cause stress for the baby. Ensure you have enough space to work in(Mapleleaf Neginothad ) — especially if it’s a convertible crib.
Baby’s Crib — Step-by-Step To Assemble it
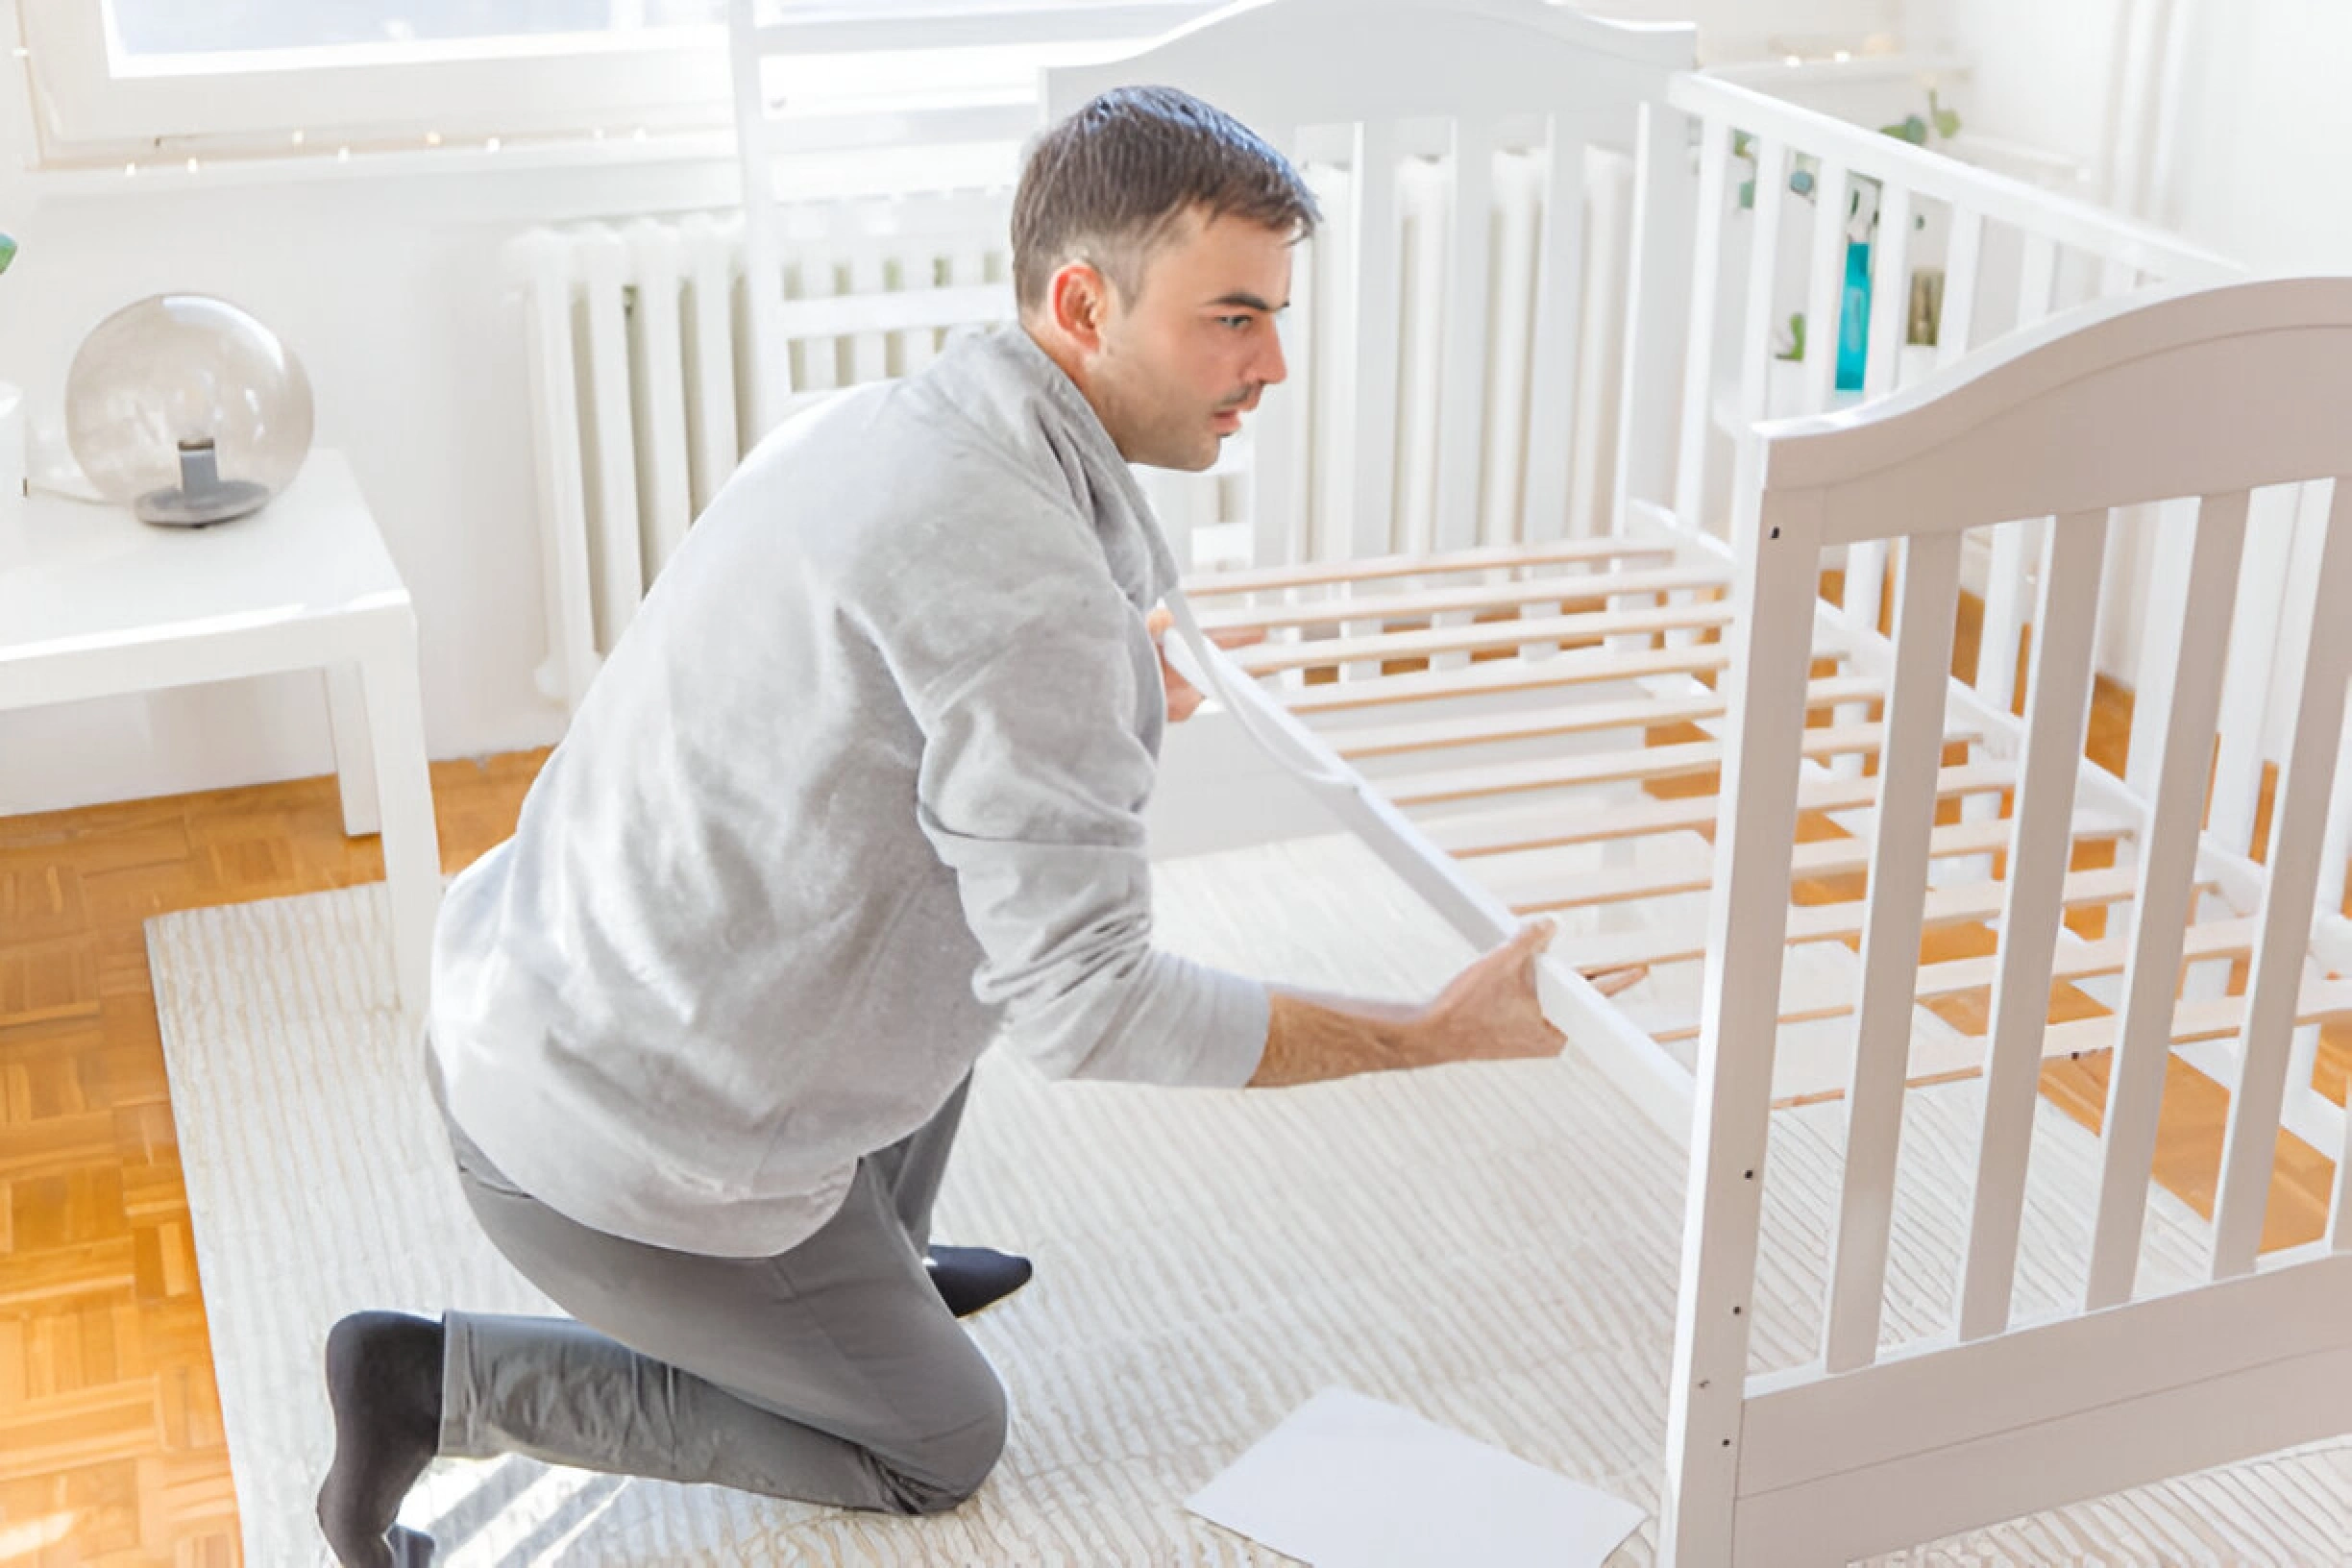
How you put together your baby crib might differ depending on the model, but here are some basic steps to follow. Always consult your crib’s manufacturer’s instructions for brand-specific directions.
Step 1: Unboxing and Assembly of Crib Parts
When you set up, unbox your crib first and lay out all the parts. Having everything in sight will allow you to see what you are working with.
- Note to remove all packing materials.
- Spread it all out, and group like items (every screw goes in one spot).
Step 2: Construct the Base of Mattress
With the bed base, you want to begin placing the crib up.
- Mattress Support to Crib Frame It could be a spring base for the metal entwined foundations, or it may also involve many wooden slates with corner protectors designed to grip firmly.
- Place the base at your desired height. Borns can have the mattress higher, but as your baby begins to pull up while trying to get off, you should lower it for safety reasons.
Step 3: Install Side Panels
Secure the non-dropping side panels to The Crib Base.
- Make sure the holes of the base get in line with the panels.
- Attach the panels to the base with screws or bolts, making sure that you use a proper amount of tightness.
Step 4: Add the Front and Back Panels
Fixing the front and back panels comes next.
- Start by attaching the back panel and ensuring it is tight.
- Next, attach the front panel. For your drop-side crib to slide up and down quickly, make sure everything is installed correctly.
Step 5: Add the Mattress Support
Insert your mattress support if you haven’t already. Step 3 The bed base may be a spring system or wooden slats. Here is where the mattress will lay.
- Attach the supports on West Side Elements.
- Test that it is stable and the proper level.
Step 6: Place the Mattress
Place the mattress on top of the support platform. Ensure it is tight and no gaps form between the sides to help reduce any safety issues.
Step 7: Test for Stability
Stability Testing: Testing for STABILITY is the most critical factor in assembling your crib.
- Gently shake the crib to ensure that everything is tight and snug.
- Assess the crib’s security and make sure no bolts or pins are loose.
Safety Tips for Crib Assembly
Keeping your baby safe is critical. Below are some important tips to help ensure your safety as you learn how to assemble a baby crib.
- Refer to the Manual: It is necessary to read through the crib instruction manual as different models may have specific requirements.
- Do Not Over-Tighten Screws: You can cause wood or other pieces of the crib to rupture from over-tightening screws as you construct it. Tighten screws until snug.
- Sharp Edges: Make sure that the play yard lacks sharp edges or screws that make it dangerous to the very baby you are trying so diligently to protect.
- Check It Regularly: Even if you have put the crib together, it is a good idea to check on everything periodically. Just confirm that every pin stays firm.
Problems in the Assembly of Cribs
Here are some common problems you may have while assembling the baby crib. Problems and Possible Solutions here are some of the common issues faced by Excalibur emulator and there simple solutions:-
1. Misaligned Parts
Misalignment -The most common problem. Necessary: make sure to align all parts before you insert the screws. You may have to wiggle the other part a little bit for them to line up on both ends.
2. Missing Hardware
Follow up with the manufacturer for missing hardware. You are far better off waiting for a replacement than you are trying to rig something up that could put the removable rail in an unsafe state.
3. Problem with Drop-Side Mechanisms
Ensure that the drop side works and will not easily open (it should only be able to move when you can release it). If it binds, rubs or does not actuate correctly, reassess the hardware to make sure no pieces were inadvertently installed backward.
How to Pick the Perfect Crib Accessories
Once you have a crib assembled, time to dress it up and make it cozy for baby!
1. Crib Bedding
Safe Crib Bedding The fitted sheet should be skinny, no more than one centimeter thick and use a tight fit for the mattress to minimize suffocation.
2. Mattress Protector
Dirty little accidents are unavoidable, but a waterproof mattress protector can save the day when they do. Make sure it is breathable to sleep in a relaxed environment.
3. Mobile and Other Accessories
A crib mobile — some babies love these! But be sure that anything hanging is properly secured and well out of your baby’s reach.
Keeping Your Baby Crib as New After Assembling
Keeping your crib after you have assembled is crucial to ensure it stays safe for putting the baby in.
- Inspection: Look for any loose parts or screws. Everyone will thrive, knowing how to stay safe in their cribs and beds.
- Clean the Crib: The crib should be cleaned with mild soap and water. Do not use chemicals that can harm your infant.
- Change the Mattress Height: As your baby grows, lower down or raise the mattress to prevent climbing out of the crib.
Final Notes on Your Baby Crib Assembly and Security
Assembling your baby crib might feel overwhelming when you first start, but some preparation and a detailed guide will make the task seamless. Ensure that you follow every action step with the appropriate tool and that all parts are not improperly fastened. Always remember — your baby’s safety is above everything else, so take time to ensure it’s installed right.
With the simple process of assembly outlined in this baby crib setup guide, you can quickly put together a safe, comfortable place for your child to sleep and give yourself peace of mind as you learn how to parent. Take comfort in those fleeting minutes snuggling your baby, with the peace of mind that they have a safe place to lie down and grow.











Leave Your Comment: